前回はある特定の人物1人の顔が、動画の中に映ったかどうかを判定するプログラムを紹介しました。今回は複数の人物を登録しておき、そのうち誰が映ったかを判定するプログラムを作ったので紹介します。
準備
必要なものは前回と同じです。Visual Studio Communityがインストールされている必要がありますし、Python側ではOpenCVとdlib、cmake、face_recognitionモジュールが必要となります。インストールしていないモジュールがあれば、以下のコマンドでインストールしてください。
|
1 2 3 4 5 |
pip install opencv-python pip install opencv-contrib-python pip install dlib pip install cmake pip install face_recognition |
実行した様子
プログラムのソースコードを解説する前に、実行した様子を示します。
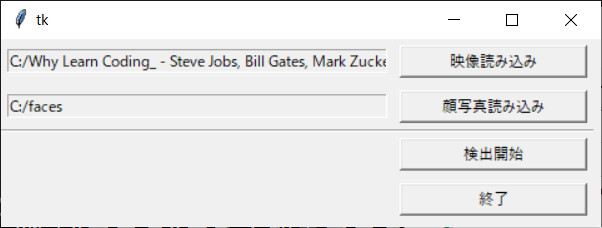
プログラムを起動すると以下のように前回と全く同じウィンドウが表示されます。

「映像読み込み」ボタンを押して複数の人物が映った動画ファイルを選びます。ここではYoutubeの映像を読み込んでいます。

今回使った映像
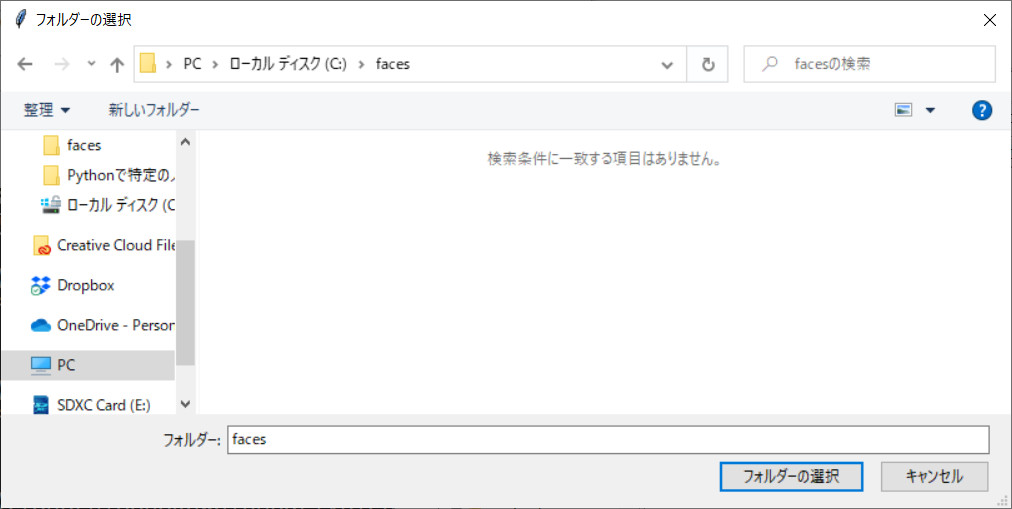
ここまでは前回と同じですが、「顔写真読み込み」ボタンを押して選択するのは、特定の人物が映った1つの画像ファイルではなく、人物の名前がファイル名となった顔写真が複数枚入っているフォルダを選択するように変わっています。
今回使った画像(8枚)
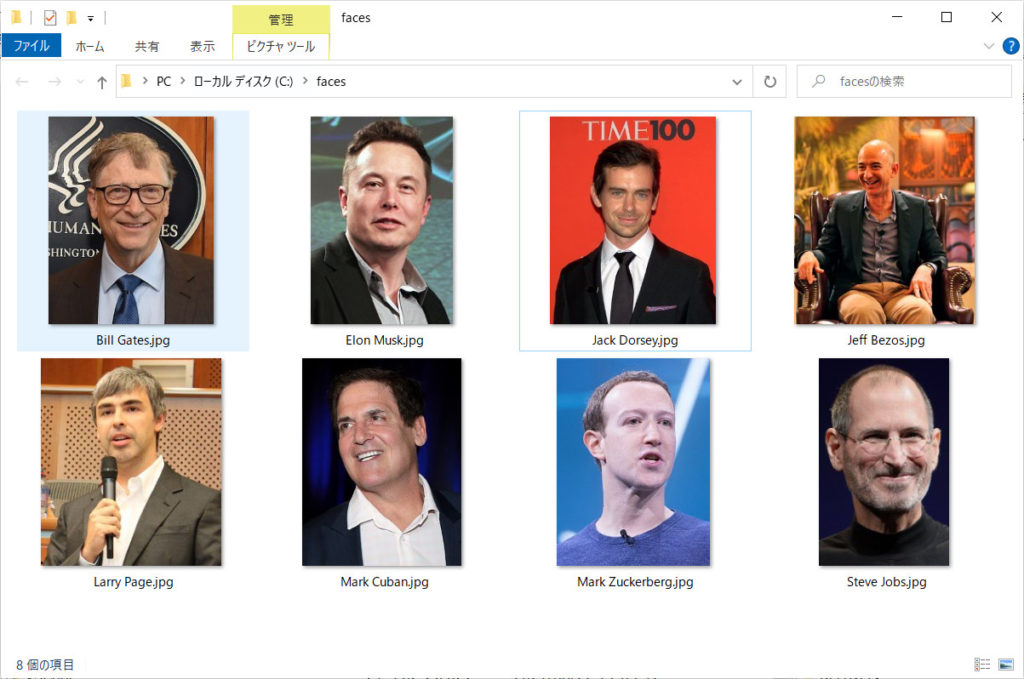
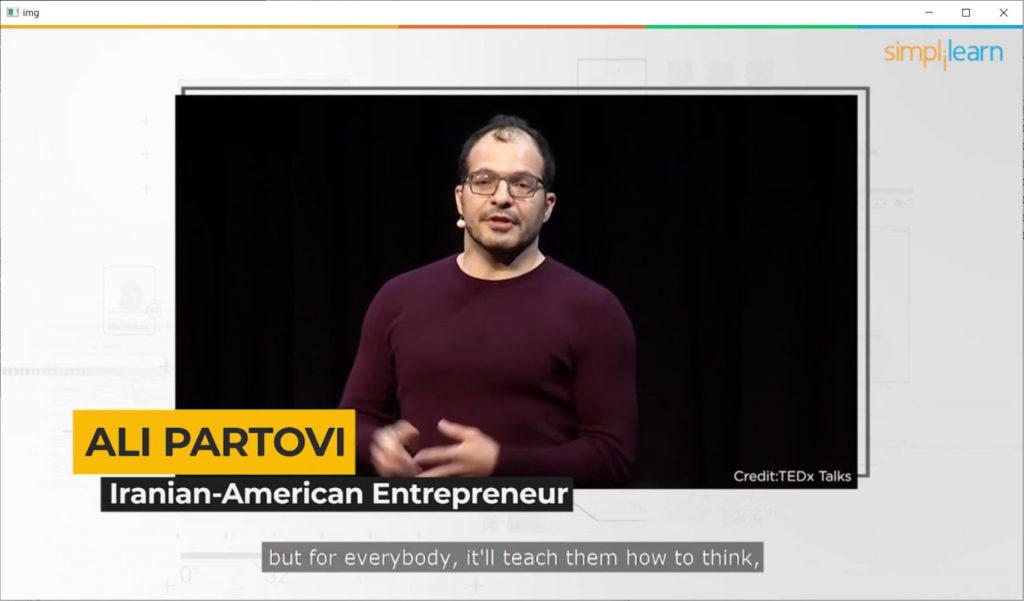
映像には「Bill Gates」「Jack Dorsey」「Mark Cuban」「Mark Zuckerberg」「Steve Jobs」が映っていますが、「Elon Musk」「Jeff Bezos」「Larry Page」は映っていません。映像にない顔写真を入れたのは、プログラムが顔を誤検出しないかどうかを確かめるためです。また映像には「Ali Partovi」が映っていますが、画像フォルダに「Ali Partovi」の写真は入れていません。
「検出開始」というボタンを押すと処理が始まります。
動作結果
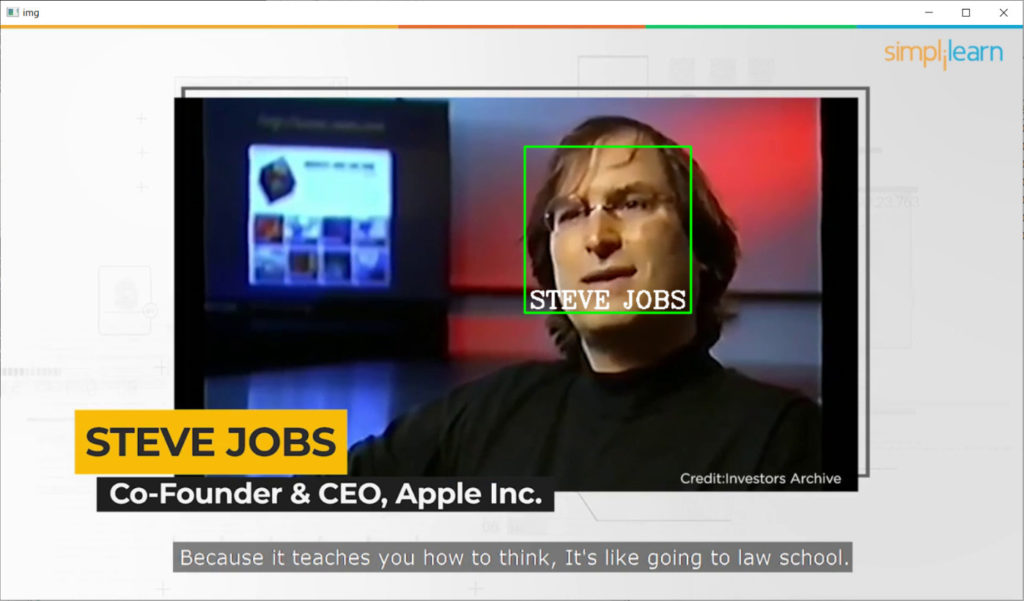
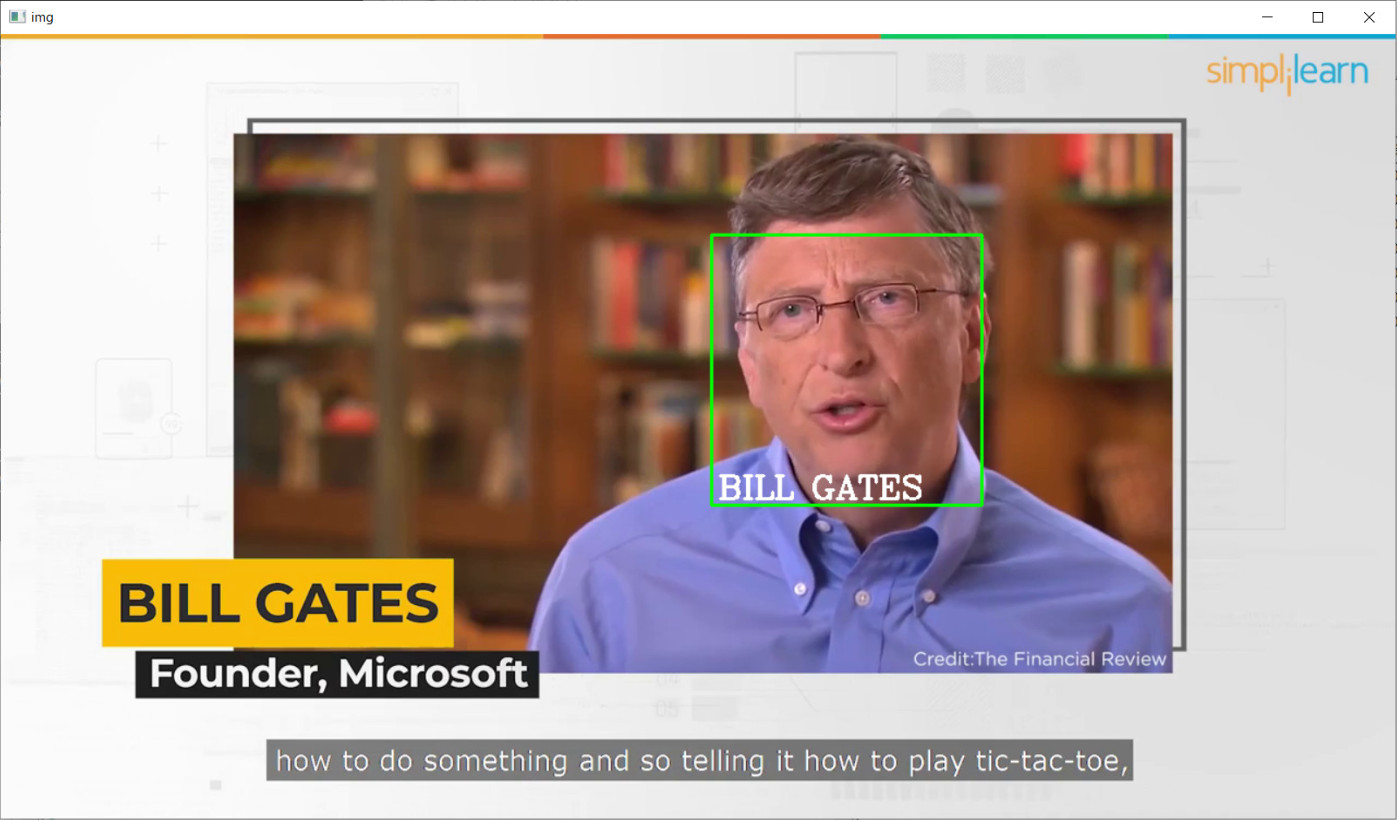
フォルダから読み込んだスティーブ・ジョブズの写真はかなり年齢が上のときのものですが、若いときの映像でもちゃんと認識できています。
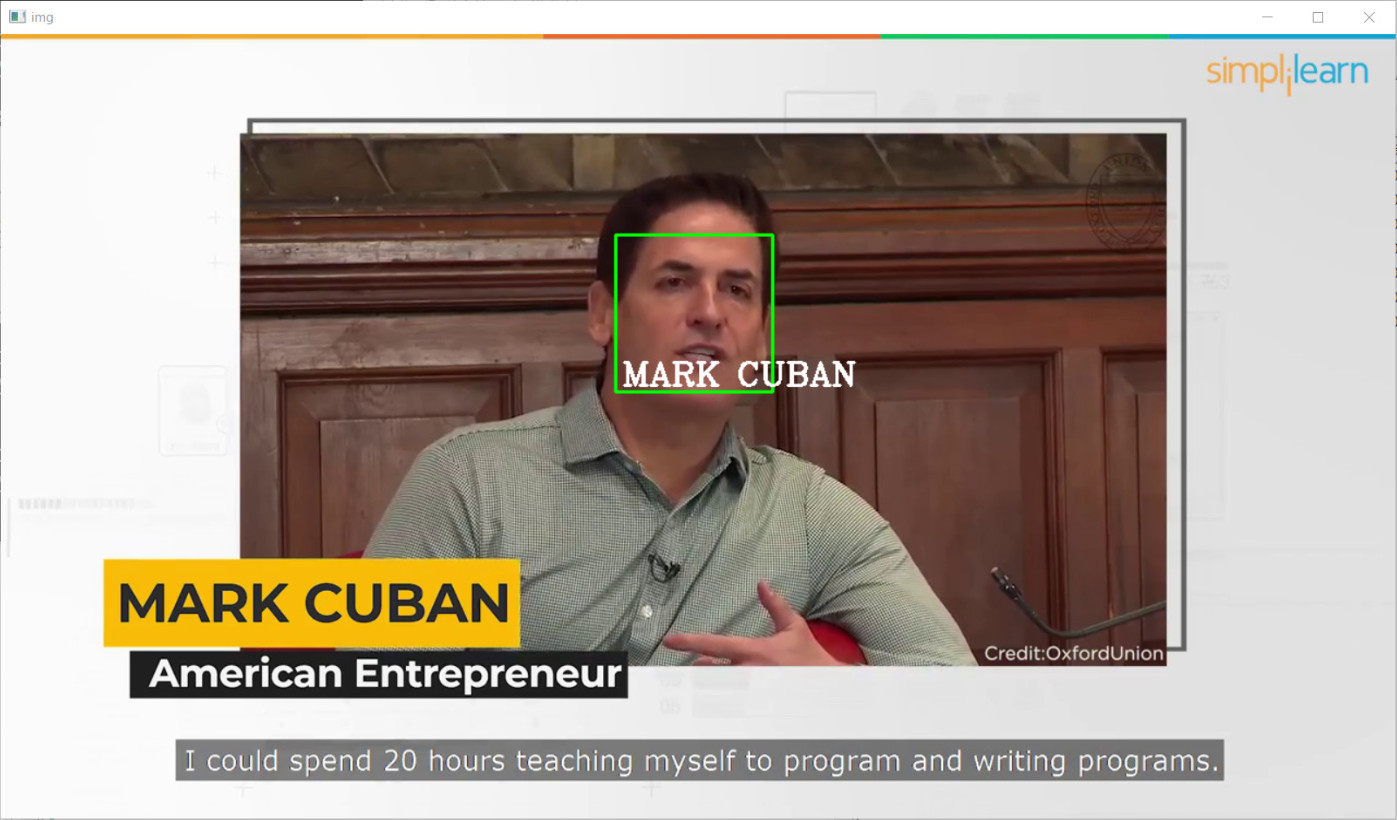
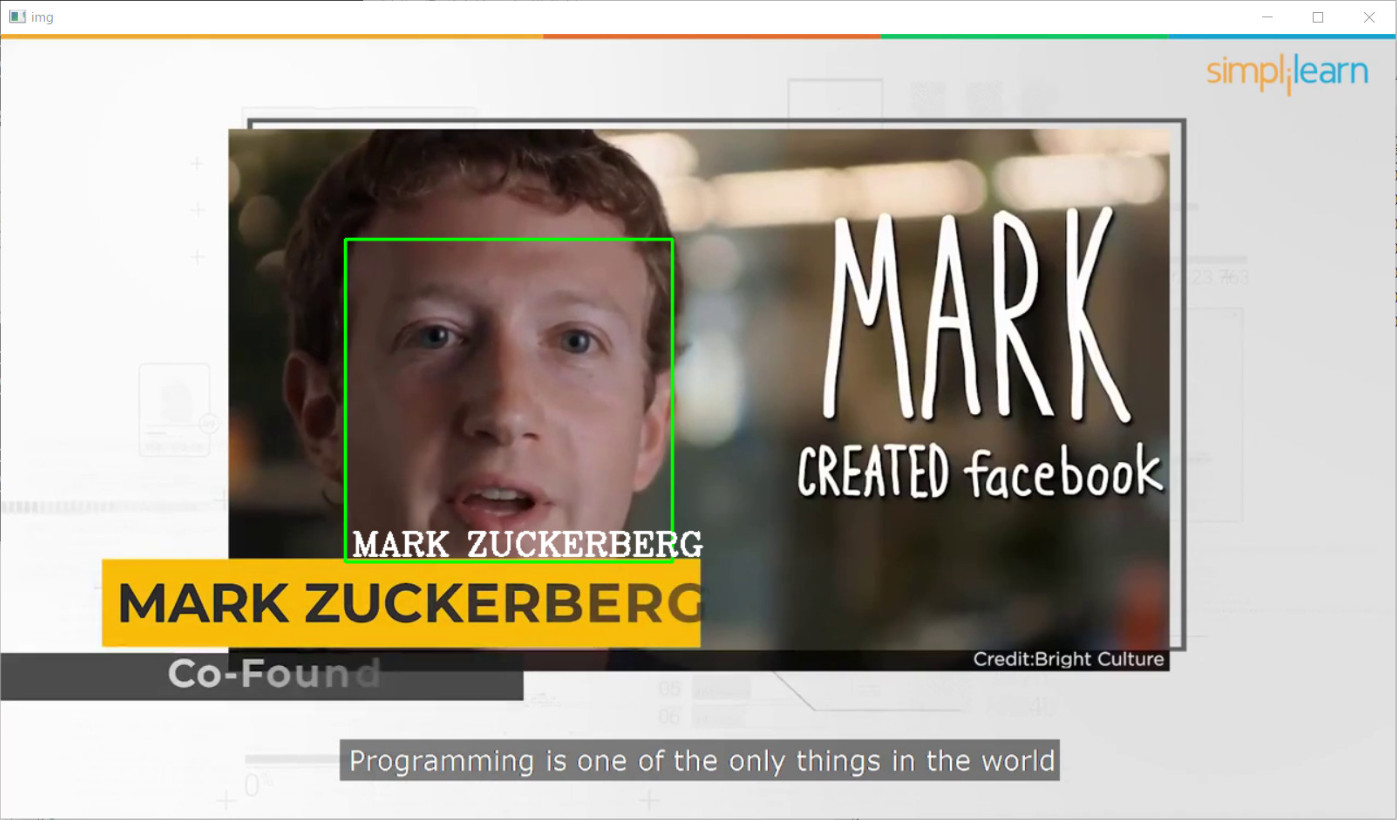
他にもこのようにちゃんと認識できていますし、

また、読み込んだフォルダに含まれていない「Ali Partovi」は、顔が映っても判定されていません。
このように複数の人物であっても、うまく特定の人物を検出できていることが確認できました。それではプログラム中身を紹介していきます。
プログラムの内容
ソースコードはこちらです。
|
1 2 3 4 5 6 7 8 9 10 11 12 13 14 15 16 17 18 19 20 21 22 23 24 25 26 27 28 29 30 31 32 33 34 35 36 37 38 39 40 41 42 43 44 45 46 47 48 49 50 51 52 53 54 55 56 57 58 59 60 61 62 63 64 65 66 67 68 69 70 71 72 73 74 75 76 77 78 79 80 81 82 83 84 85 86 87 88 89 90 91 92 93 94 95 96 97 98 99 100 101 102 103 104 105 106 107 108 109 110 111 112 113 114 115 116 117 118 119 120 121 122 123 124 125 126 127 128 129 130 131 132 133 134 135 136 137 138 139 140 141 142 143 144 145 146 147 148 149 150 151 152 153 154 155 156 157 158 159 |
import numpy as np import cv2 import os from tkinter import * import tkinter as tk import tkinter.filedialog as fd import tkinter.ttk as ttk from tkinter import messagebox import MyUtility as my import face_recognition import sys ############################################################################### class FaceMovieDetect(): def run(self): self.root.mainloop() def __init__(self): self.b_mov = False self.b_pct = False self.dirname_mov = "" self.filename_mov = "" self.basename_mov = "" self.root = tk.Tk() self.root.geometry("480x150") self.entry_mov_filepath = tk.Entry(self.root, text="", width=50, state="readonly") self.entry_mov_filepath.grid(row=1, column=0, padx=5, pady=5) self.button_movie = tk.Button(self.root, text="映像読み込み", width=20, command=self.open_moviefile) self.button_movie.grid(row=1, column=1, padx=5, pady=5) self.entry_pct_filepath = tk.Entry(self.root, text="", width=50, state="readonly") self.entry_pct_filepath.grid(row=2, column=0, padx=5, pady=5) self.button_pct = tk.Button(self.root, text="顔写真読み込み", width=20, command=self.open_pictfile) self.button_pct.grid(row=2, column=1, padx=5, pady=5) self.sep = ttk.Separator(self.root, orient="horizontal", style="blue.TSeparator") self.sep.grid(row=3, column=0, columnspan=2, sticky="ew") self.button_mov = tk.Button(self.root, text="検出開始", width=20, command=self.detect_face_in_movie, state=tk.DISABLED) self.button_mov.grid(row=4, column=1, padx=5, pady=5) self.button_exit = tk.Button(self.root, text="終了", width=20, command=self.exit_program) self.button_exit.grid(row=7, column=1, padx=5, pady=5) ############################################################################### def open_moviefile(self): filepath = my.ask_input_filename("動画ファイルを選んでください", types=[('', '*.mp4')]) if filepath: self.entry_mov_filepath.configure(state='normal') self.entry_mov_filepath.delete(0, tk.END) self.entry_mov_filepath.insert('end', filepath) self.entry_mov_filepath.configure(state='readonly') self.b_mov = True if self.b_mov and self.b_pct: self.button_mov.configure(state=tk.NORMAL) ############################################################################### def open_pictfile(self): filedir = my.ask_directory("顔写真が含まれているフォルダを選んでください") if filedir: self.entry_pct_filepath.configure(state='normal') self.entry_pct_filepath.delete(0, tk.END) self.entry_pct_filepath.insert('end', filedir) self.entry_pct_filepath.configure(state='readonly') self.b_pct = True if self.b_mov and self.b_pct: self.button_mov.configure(state=tk.NORMAL) ############################################################################### def exit_program(self): self.root.quit() exit() ############################################################################### def detect_face_in_movie(self): try: # パスを取得する self.filepath_mov = self.entry_mov_filepath.get() self.filepath_pct = self.entry_pct_filepath.get() # 指定したフォルダから画像を自動的に読み込む images = [] classNames = [] imgList = os.listdir(self.filepath_pct) for img_name in imgList: filepath = '{}/{}'.format(self.filepath_pct, img_name) pict_np = np.fromfile(filepath, np.uint8) # OpenCVは日本語を含むファイルを開けないのでNumpyを使って開く pict_img = cv2.imdecode(pict_np, cv2.IMREAD_COLOR) images.append(pict_img) classNames.append(os.path.splitext(img_name)[0]) # 拡張子を除いたファイル名を取得する # 顔をエンコードする encodeListKnown = [] for img in images: img = cv2.cvtColor(img, cv2.COLOR_BGR2RGB) pict_encode = face_recognition.face_encodings(img)[0] encodeListKnown.append(pict_encode) # 動画の切り出し cap = cv2.VideoCapture(self.filepath_mov) while True: ret, img = cap.read() if ret is False: break imgS = cv2.resize(img, (0, 0), None, 0.25, 0.25) # 処理を軽くするため、サイズを4分の1にする imgS = cv2.cvtColor(imgS, cv2.COLOR_BGR2RGB) # 現在のフレームから顔をすべて検出する facesCurFrame = face_recognition.face_locations(imgS) encodesCurFrame = face_recognition.face_encodings(imgS, facesCurFrame) for encodeFace, faceLoc in zip(encodesCurFrame, facesCurFrame): matches = face_recognition.compare_faces(encodeListKnown, encodeFace) facedist = face_recognition.face_distance(encodeListKnown, encodeFace) # 距離が最小のものがマッチしていたら顔の周りに矩形を描画する matchIndex = np.argmin(facedist) if matches[matchIndex]: y1, x2, y2, x1 = faceLoc y1, x2, y2, x1 = y1*4, x2*4, y2*4, x1*4 # 1/4にしていたのでサイズを元に戻す cv2.rectangle(img, (x1, y1), (x2, y2), (0, 255, 0), 2) name = classNames[matchIndex].upper() cv2.putText(img, name, (x1+6, y2-6), cv2.FONT_HERSHEY_COMPLEX, 1, (255, 255, 255), 2) cv2.imshow("img", img) # qを押したら中断する if cv2.waitKey(1) & 0xFF == ord('q'): break messagebox.showinfo("終了", "処理が終わりました。") except: print(sys.exc_info()) messagebox.showinfo("エラー", "エラーが発生しました。") ############################################################################### # # 以下、メイン処理 # ############################################################################### if __name__ == "__main__": app = FaceMovieDetect() app.run() |
MyUtility.py
|
1 2 3 4 5 6 7 8 9 10 11 12 13 14 15 16 17 18 19 20 21 22 23 24 25 26 27 28 29 30 31 32 33 34 35 36 37 38 39 40 41 42 43 |
import tkinter as tk import tkinter.filedialog as fd def ask_input_filename(msg = None, types = [('', '*.*')]): """ 入力用ファイル名の設定 """ rt = tk.Tk() rt.withdraw() filename = fd.askopenfilename(title = msg, filetypes = types) rt.destroy() return filename def ask_input_filenames(msg = None, types = [('', '*.*')]): """ 入力用ファイル名の設定 """ rt = tk.Tk() rt.withdraw() filenames = fd.askopenfilenames(title = msg, filetypes = types) rt.destroy() return filenames def ask_directory(msg = None, initial_dir = "./"): rt = tk.Tk() rt.withdraw() dir = fd.askdirectory(initialdir = initial_dir) rt.destroy() return dir def ask_output_filename(msg = None, types = [('', '*.*')], deftype = '.txt'): """ 出力用ファイル名の設定 """ rt = tk.Tk() rt.withdraw() filename = fd.asksaveasfilename(title = msg, filetypes = types, defaultextension = deftype) rt.destroy() return filename |
プログラムの解説
ソースコードの大半は前回と同様です。変更した部分に注目して解説していきます。
|
67 68 69 70 71 72 73 74 75 76 77 |
def open_pictfile(self): filedir = my.ask_directory("顔写真が含まれているフォルダを選んでください") if filedir: self.entry_pct_filepath.configure(state='normal') self.entry_pct_filepath.delete(0, tk.END) self.entry_pct_filepath.insert('end', filedir) self.entry_pct_filepath.configure(state='readonly') self.b_pct = True if self.b_mov and self.b_pct: self.button_mov.configure(state=tk.NORMAL) |
前回のプログラムでは1つの画像ファイルを読み込んでいましたが、今回はフォルダを指定するので、open_pictfileでMyUtility.pyに含まれるask_directoryという関数を呼び出しています。
次にメインの処理をしているdetect_face_in_movie関数で変更したところを見ていきましょう。
|
94 95 96 97 98 99 100 101 102 103 |
# 指定したフォルダから画像を自動的に読み込む images = [] classNames = [] imgList = os.listdir(self.filepath_pct) for img_name in imgList: filepath = '{}/{}'.format(self.filepath_pct, img_name) pict_np = np.fromfile(filepath, np.uint8) # OpenCVは日本語を含むファイルを開けないのでNumpyを使って開く pict_img = cv2.imdecode(pict_np, cv2.IMREAD_COLOR) images.append(pict_img) classNames.append(os.path.splitext(img_name)[0]) # 拡張子を除いたファイル名を取得する |
osモジュールのlistdir関数を用いて、フォルダに含まれるファイルのリストを取得し、forループでそれぞれの画像を読み込んでいます。ちなみに画像以外のファイルが含まれていた場合のエラー処理などは行っていません。
|
105 106 107 108 109 110 |
# 顔をエンコードする encodeListKnown = [] for img in images: img = cv2.cvtColor(img, cv2.COLOR_BGR2RGB) pict_encode = face_recognition.face_encodings(img)[0] encodeListKnown.append(pict_encode) |
読み込んだ画像データをface_recognitionのface_encodings関数でエンコードし、encodeListKnownというリストに格納しています。これでフォルダに含まれていた画像の自分の顔の特徴点が計算できました。
|
112 113 114 115 116 117 118 119 120 121 122 123 124 125 126 127 128 129 130 131 132 133 134 135 136 137 |
# 動画の切り出し cap = cv2.VideoCapture(self.filepath_mov) while True: ret, img = cap.read() if ret is False: break imgS = cv2.resize(img, (0, 0), None, 0.25, 0.25) # 処理を軽くするため、サイズを4分の1にする imgS = cv2.cvtColor(imgS, cv2.COLOR_BGR2RGB) # 現在のフレームから顔をすべて検出する facesCurFrame = face_recognition.face_locations(imgS) encodesCurFrame = face_recognition.face_encodings(imgS, facesCurFrame) for encodeFace, faceLoc in zip(encodesCurFrame, facesCurFrame): matches = face_recognition.compare_faces(encodeListKnown, encodeFace) facedist = face_recognition.face_distance(encodeListKnown, encodeFace) # 距離が最小のものがマッチしていたら顔の周りに矩形を描画する matchIndex = np.argmin(facedist) if matches[matchIndex]: y1, x2, y2, x1 = faceLoc y1, x2, y2, x1 = y1*4, x2*4, y2*4, x1*4 # 1/4にしていたのでサイズを元に戻す cv2.rectangle(img, (x1, y1), (x2, y2), (0, 255, 0), 2) name = classNames[matchIndex].upper() cv2.putText(img, name, (x1+6, y2-6), cv2.FONT_HERSHEY_COMPLEX, 1, (255, 255, 255), 2) cv2.imshow("img", img) |
映像から1フレームを読み込んで顔を検出したあと、さきほど計算した顔の特徴点のリスト(encodeListKnown)と映像で検出された顔の特徴点をface_recognition.compare_faces関数で比較しています。複数の顔で比較を行っているので、face_recognition.compare_faces関数とface_recognition.face_distance関数の戻り値matchesとfacedistも複数の要素(フォルダに含まれていた顔写真の数分)を含みます。
そして距離(facedist)が最小のもの、つまり顔の特徴点を表す空間(128次元)において最も近い位置にあると判定された顔のインデックスをnp.argmin関数で取り出し、その要素に該当するmatchesがTrueであるかどうか(同じ顔と判定されているか)をif文で判定しています。Trueであれば検出された顔の周りに緑色の矩形を描画して、その下に名前を表示する処理をしています。
以上が簡単な説明です。
さいごに
今回のプログラムを使えば、会社の出退勤や学校の出席などを自動化することができるかもしれないですね。
- 投稿タグ
- プログラミング
